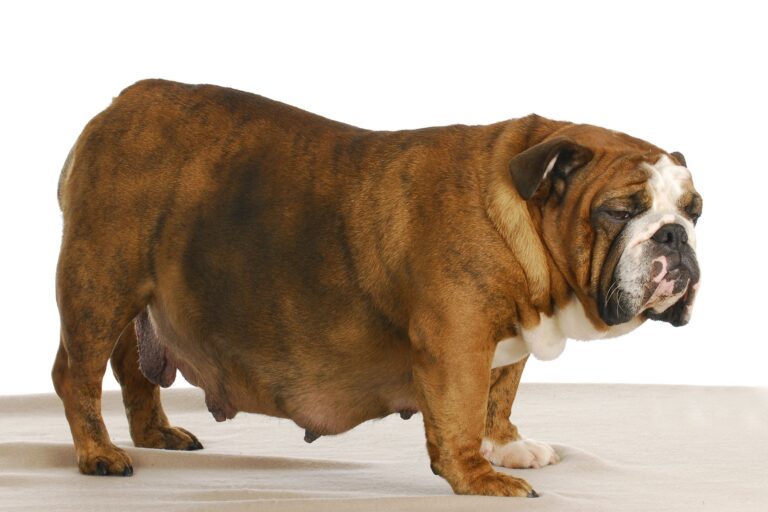
You’re thinking about how to give your dog that extra exercise they need, or maybe you’re looking for ways to help them shed a few pounds without having to take them outdoors. But let’s be honest – shelling out hundreds of dollars for a treadmill just doesn’t sit right with you. Plus, not every treadmill out there is built to accommodate every breed or personality. Whatever your reason, you’re not alone.
In fact, research shows that regular exercise can do wonders for your dog’s behavior, reduce anxiety, and even extend their lifespan. According to the American Veterinary Medical Association, consistent exercise is essential for dogs of all ages – not just to keep them physically fit, but also to stimulate their minds and strengthen their bond with you.
This is where building your own dog treadmill comes in. As someone who’s spent years working with dogs and developing tailored exercise plans, I understand the challenges, and I’m here to provide you with practical solutions that truly work.
Read Also: Dogs Should Not Use Human Treadmills. Here’s Why
Materials You’ll Need
To get started, gather the following materials and tools. The exact items may vary based on your design, but this list covers the basics:
- Wooden planks: For the frame of the treadmill.
- PVC Pipes: These will act as the rollers on which the treadmill belt moves.
- Conveyor belt or durable fabric: This will serve as the treadmill belt where your dog will walk or run.
- Plywood sheet: For the base of the treadmill.
- Nails, screws, and a hammer: To assemble the frame.
- Saw and drill: For cutting and assembling the materials.
- Non-slip mat: To ensure your dog has a firm grip while using the treadmill.
- Wheels and a motor (Optional): If you want to make the treadmill motorized.
- Measuring Tape: To ensure accurate measurements.
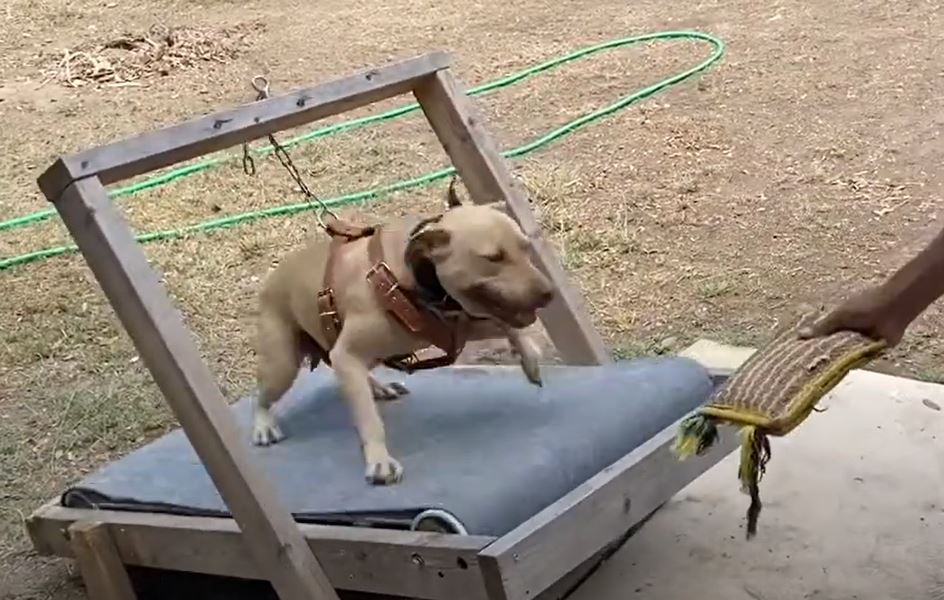
Step-by-Step Guide on How to Build a Dog Treadmill
Now that you have all the materials ready, let’s get into the actual construction.
1. Design the Frame
Start by deciding on the dimensions of the treadmill. This will depend on the size of your dog. Use wooden planks to create the frame. The length should be enough for your dog to comfortably walk or run without stepping off the belt. Ensure the frame is sturdy and stable.
Tip: Opt for thicker wooden boards to ensure stability.
2. Install the Rollers
Next, install the PVC pipes at both ends of the frame. These will serve as the rollers. Attach bearings to the ends of the pipes to allow them to spin smoothly. Make sure the rollers are positioned parallel to each other and are securely fastened to the frame.
Tip: keep in mind that the spacing between the rollers will determine the tension of the treadmill belt.
3. Attach the Belt
Once the rollers are in place, cut your conveyor belt or durable fabric to fit the length of the treadmill. Attach the belt to the rollers, ensuring it’s tight enough to stay in place but loose enough to move freely when your dog walks or runs.
Tip: Cover the belt with a non-slip mat to provide a better grip for your dog’s paws. Ensure the mat covers the entire walking area.
4. Add the Base
Attach a plywood sheet to the bottom of the frame to serve as the base of the treadmill. This will provide stability and ensure the treadmill doesn’t wobble during use. Secure the base with screws.
5. Add Side Rails
To prevent your dog from slipping off the treadmill, add side rails using additional wooden boards. These should be high enough to guide your dog but not so high that they restrict movement.
Tip: Consider adding padding to the side rails.
6. Install a Speed Control Mechanism (Optional)
If you want to take your DIY project to the next level, you can install a motorized treadmill and a speed control, you can add wheels and a motor.
This could be as simple as a manual hand crank that adjusts the speed of the belt or more complex with electronic components. It requires more technical skills and may involve wiring and additional safety features.
If you’re not comfortable with this, sticking to a manual treadmill is perfectly fine.
7. Test and Adjust the Treadmill
Before letting your dog use the treadmill, thoroughly test it to ensure everything is working properly. Walk on it yourself to check the belt’s movement and make any necessary adjustments.
Tips for Using Your DIY Dog Treadmill
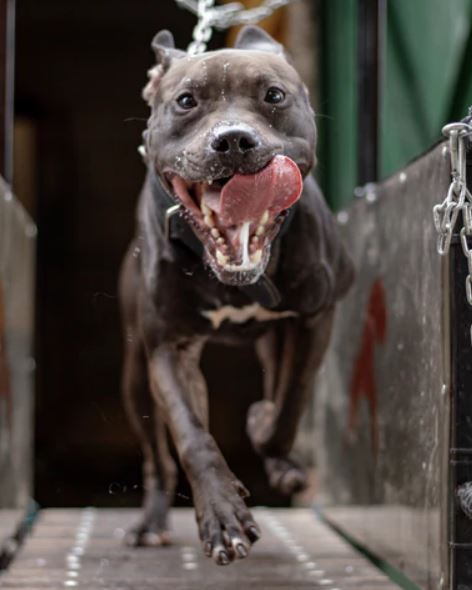
Once your DIY treadmill is ready, it’s time to train your dog to use it. Start by letting your dog explore the treadmill while it’s turned off.
- Start Slowly: Introduce your dog to the treadmill gradually. Let them explore it while it’s off, and reward them with treats for showing interest.
- Supervision is Key: Always supervise your dog while they’re on the treadmill, especially in the beginning. This ensures their safety and helps you gauge their comfort level.
- Adjust the Speed: If you’ve added a motor, start at a slow speed and gradually increase it as your dog becomes more confident.
- Make It Fun: Encourage your dog with positive reinforcement. Use their favorite toys or treats to make the treadmill a fun experience.
Conclusion
Building a dog treadmill at home is a practical solution for pet owners who want to ensure their dogs get enough exercise. knowing how to make a treadmill for a dog opens up new possibilities for keeping your pup healthy and happy. With the right materials, a bit of effort, and the tips outlined in this guide, you’ll have a functional dog treadmill ready to go in no time.
So, gather your materials and start building a treadmill that your dog will love!
Read Also: Dog Treadmill Price Guide