You’ve likely browsed dog agility kits, maybe even added one to your cart, but hesitated, wondering if it’s truly worth it. We get it – those pre-made sets can be pricey and might not suit your space perfectly. That’s why building your own DIY dog agility course could be the ideal solution. With some effort, you can create a custom playground that will keep your dog active and happy.
In my experience, most people prefer DIY agility equipment because it is fun, budget-friendly, and allows for personalization based on your dog’s specific needs. In fact, I’ve never bought dog agility equipment; I’ve always DIY’d it myself.
How to Make Dog Agility Equipment
The type of dog agility equipment you decide to make will depend on the specific training exercises you want to focus on. From basic jumps to more advanced obstacles, Here are a variety of equipment you can craft at home to suit your dog’s needs:
- Jumps
- Tire Jump
- Tunnel
- Weave Poles
- Teeter Board
Let’s begin with the first:
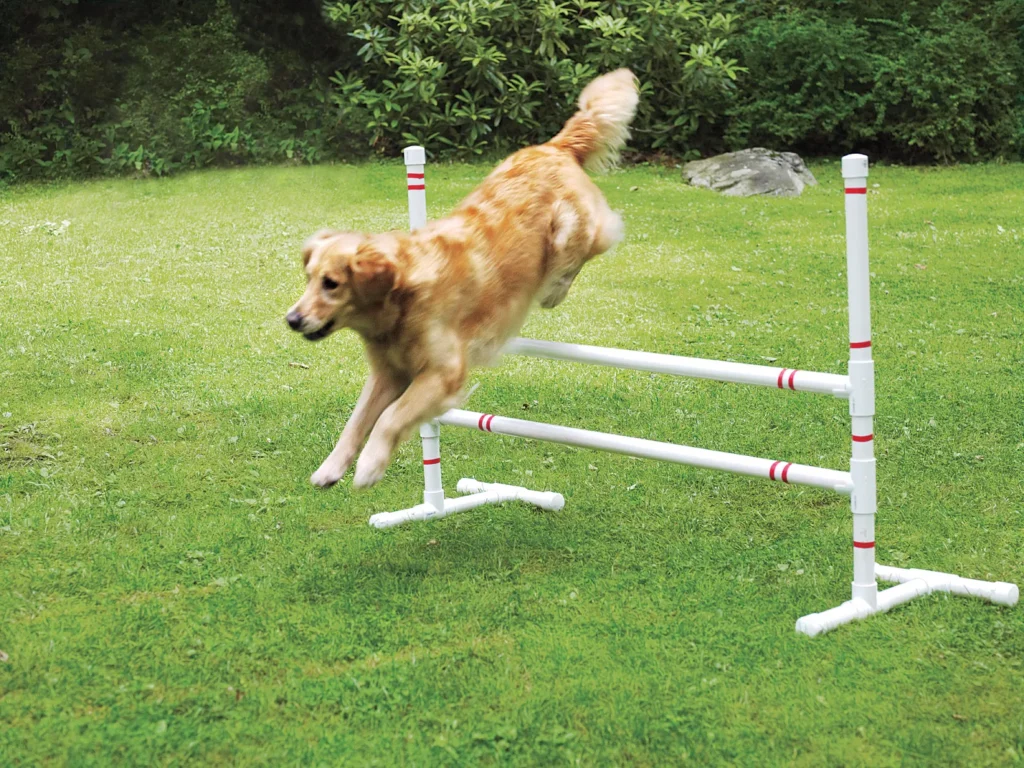
How to Make Jumps for Dog Agility Training
Dogs love jumps – they’re like the ultimate game! Leaping over those bars is a fun way to keep them engaged and active. Plus, you can easily adjust the height, making them perfect for dogs of all sizes and skill levels.
Materials Needed
- PVC pipes (1-inch diameter)
- PVC pipe connectors (T-joints and elbow joints)
- Saw (for cutting the pipes)
- Tape measure
- PVC glue (optional)
Instructions
- Measure and Cut: Cut the PVC pipes into the following lengths: 2 pipes at 36 inches for the base, 4 pipes at 12 inches for the uprights, and 1 pipe at 30 inches for the crossbar.
- Assemble the Base: Connect two 12-inch pipes to the ends of each 36-inch pipe using T-joints. This will create a stable base.
- Attach the Uprights: Insert two 12-inch pipes vertically into the T-joints on either side of the base.
- Add the Crossbar: Place the 30-inch pipe across the top, connecting it with elbow joints to the upright pipes.
- Adjust Height: You can make multiple crossbars at different heights to adjust the difficulty level.
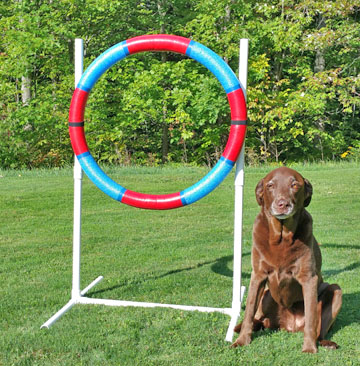
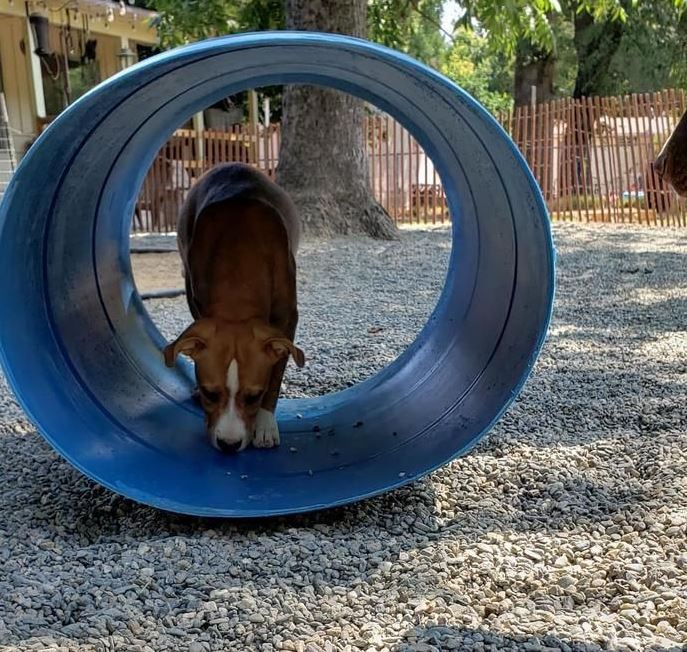
How to Make a Tire Jump
Tire jumps are a fantastic agility training tool for dogs! You set up a tire or hoop at a height that’s just right, and your dog leaps through it, using the jump to build their coordination and confidence. Dogs quickly get the hang of it, and it’s a great way to boost their timing and agility. Start with the tire low and raise it as your dog improves. With some tasty treats or lots of praise, your dog will love mastering this fun challenge and becoming a pro at agility!
Materials Needed
- Old bicycle tire or hula hoop
- Rope or bungee cords
- Two sturdy poles or trees
Instructions
- Select a Tire: Choose an old bicycle tire or a hula hoop that’s large enough for your dog to jump through.
- Secure the Tire: Attach the tire to two sturdy poles or trees using rope or bungee cords. Ensure it’s securely fastened and can support your dog’s weight.
- Adjust Height: Start with the tire at a low height and gradually raise it as your dog becomes more confident.
How to Make a Tunnel
Your dogs will love dashing through tunnels customized specifically for them. Also, it will boost their confidence, speed, and agility. Start with a short tunnel and gradually extend it as your dog gets more skilled. Encourage them with praise and treats, and they’ll enjoy mastering this fun agility challenge!
Materials Needed
- Children’s play tunnel (available at most toy stores)
- Sandbags or weights (optional, for stability)
Instructions
- Set Up the Tunnel: Place the play tunnel in your yard or living room.
- Secure It: Use sandbags or weights to keep the tunnel from moving if needed.
- Encourage Your Dog: Use treats or toys to entice your dog to go through the tunnel.
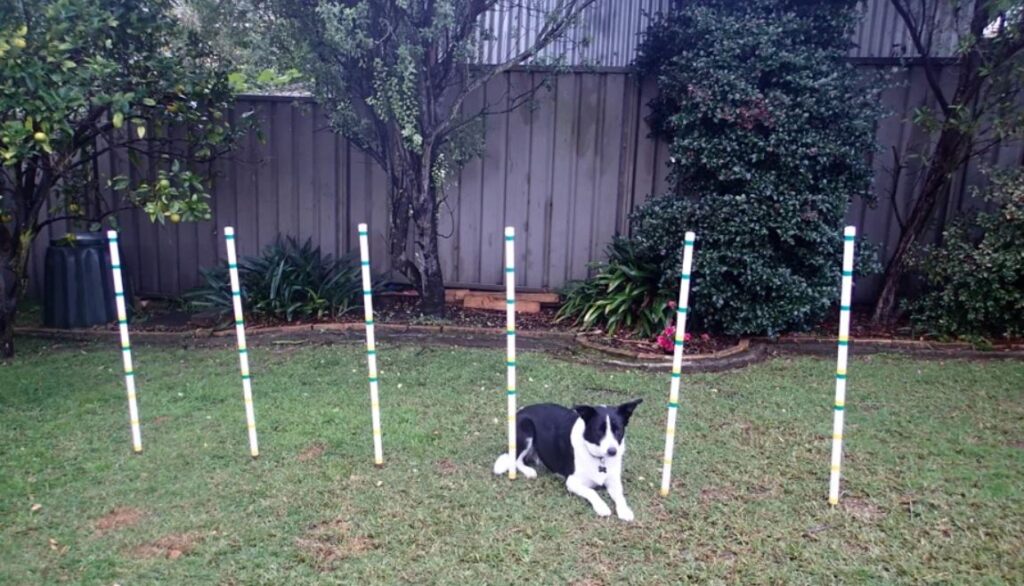
How to Make Weave Poles
I remember when I first set them up for my dog; it was amazing to see how quickly they figured out the weaving pattern. Weave poles work by having your dog navigate a series of upright poles spaced closely together, weaving in and out as they move through them to improve their agility and coordination.
You should start with just a few poles spaced wide apart and gradually move them closer as your dog gets better. Keep the sessions fun with plenty of praise and treats. Your dog will love mastering this skill, and it’s a great way to boost their agility!
Materials Needed
- PVC pipes (1-inch diameter)
- PVC pipe connectors (T-joints)
- Saw (for cutting the pipes)
- Tape measure
- PVC glue (optional)
Instructions
- Measure and Cut: Cut the PVC pipes into 10 equal lengths of 36 inches each.
- Create the Base: Connect the pipes using T-joints to form a straight line.
- Insert Poles: Push the poles into the ground in a straight line, spaced about 24 inches apart.
- Practice Weaving: Guide your dog through the poles using treats or a leash.
Making a Teeter Board for Dog Agility Training
Teeter boards are a fantastic agility tool that works by challenging your dog’s balance and coordination. The board is mounted on a pivot point, allowing it to tilt up and down as your dog walks across it. When your dog steps onto the board, it tips, creating a rocking motion. This movement encourages your dog to focus on maintaining their balance while navigating the board.
You start with the board positioned at a low angle, so your dog can get used to the sensation of it tipping. As they become more confident, you gradually increase the angle to make it more challenging. This progressive approach helps build your dog’s core strength and coordination while keeping the training engaging and rewarding.

Materials Needed
- Long wooden plank (8 feet long, 12 inches wide)
- PVC pipe (6 inches in diameter)
- Screws or nails
- Saw
- Drill
Instructions
- Prepare the Plank: Ensure the plank is smooth and free of splinters.
- Attach the Pipe: Securely fasten the PVC pipe to the center of the underside of the plank using screws or nails.
- Test the Balance: Make sure the plank teeters easily on the pipe.
- Introduce Your Dog: Slowly introduce your dog to the teeter board, using treats to reward any interaction.
Training Tips
- Start Slow: Introduce your dog to each piece of DIY agility equipment gradually. Let them get comfortable with one obstacle before moving on to the next.
- Use Positive Reinforcement: Reward your dog with treats and praise for successfully completing obstacles.
- Keep Sessions Short: Agility training can be mentally and physically taxing. Keep sessions short to prevent your dog from becoming overwhelmed or fatigued.
- Consistency is Key: Regular practice will help your dog improve and gain confidence.
Summary and Conclusion
With a bit of creativity and effort, you can provide your dog with a stimulating and enjoyable agility course right at home. A home dog agility course built using inexpensive agility equipment like household items can benefit in agility training for dogs and is well worth the effort.
So, gather your supplies, and get creative with DIY dog agility equipment.